Showing posts with label DIY. Show all posts

10.25.2011

DIY: T-Shirt Scarf

While I often have many a crafty musing, I have far less crafting talent. I once stapled my finger while creating a booklet. So I'm always on the lookout for little DIY projects that can be created with my limited ability. Enter: the t-shirt scarf. These little beauties are all over the place in many styles and forms. I've been dying to attempt one for some time now, so with my scissors in hand and my tentative outlook I got to work. 

Step One: Choose your materials 
1) Any old T shirt. Well, almost any old T shirt. The tee should be L or XL for best results, and make sure that the shirt doesn't have side seams. I chose a shirt that my Dad gifted upon me from the Beef and Pie Coffee Bar in Austin. Highly recommended! 
2) Scissors. Fabric scissors would probably work best, but regular scissors will do in a pinch.


Step Two: Cut off the bottom hem and the top of the shirt (below the sleeves). Which should leave you with something like this:


Step Three: Cut the remainder of the shirt into strips about one inch wide, but be careful to not cut all of the way up to the top!


Step Four: Gently pull the strips one by one, and they will begin to curl onto themselves. The final result should look something like this:


This DIY was created to the sounds of Blood on the Tracks by Bob Dylan.

 
Happy crafting!

10.19.2011

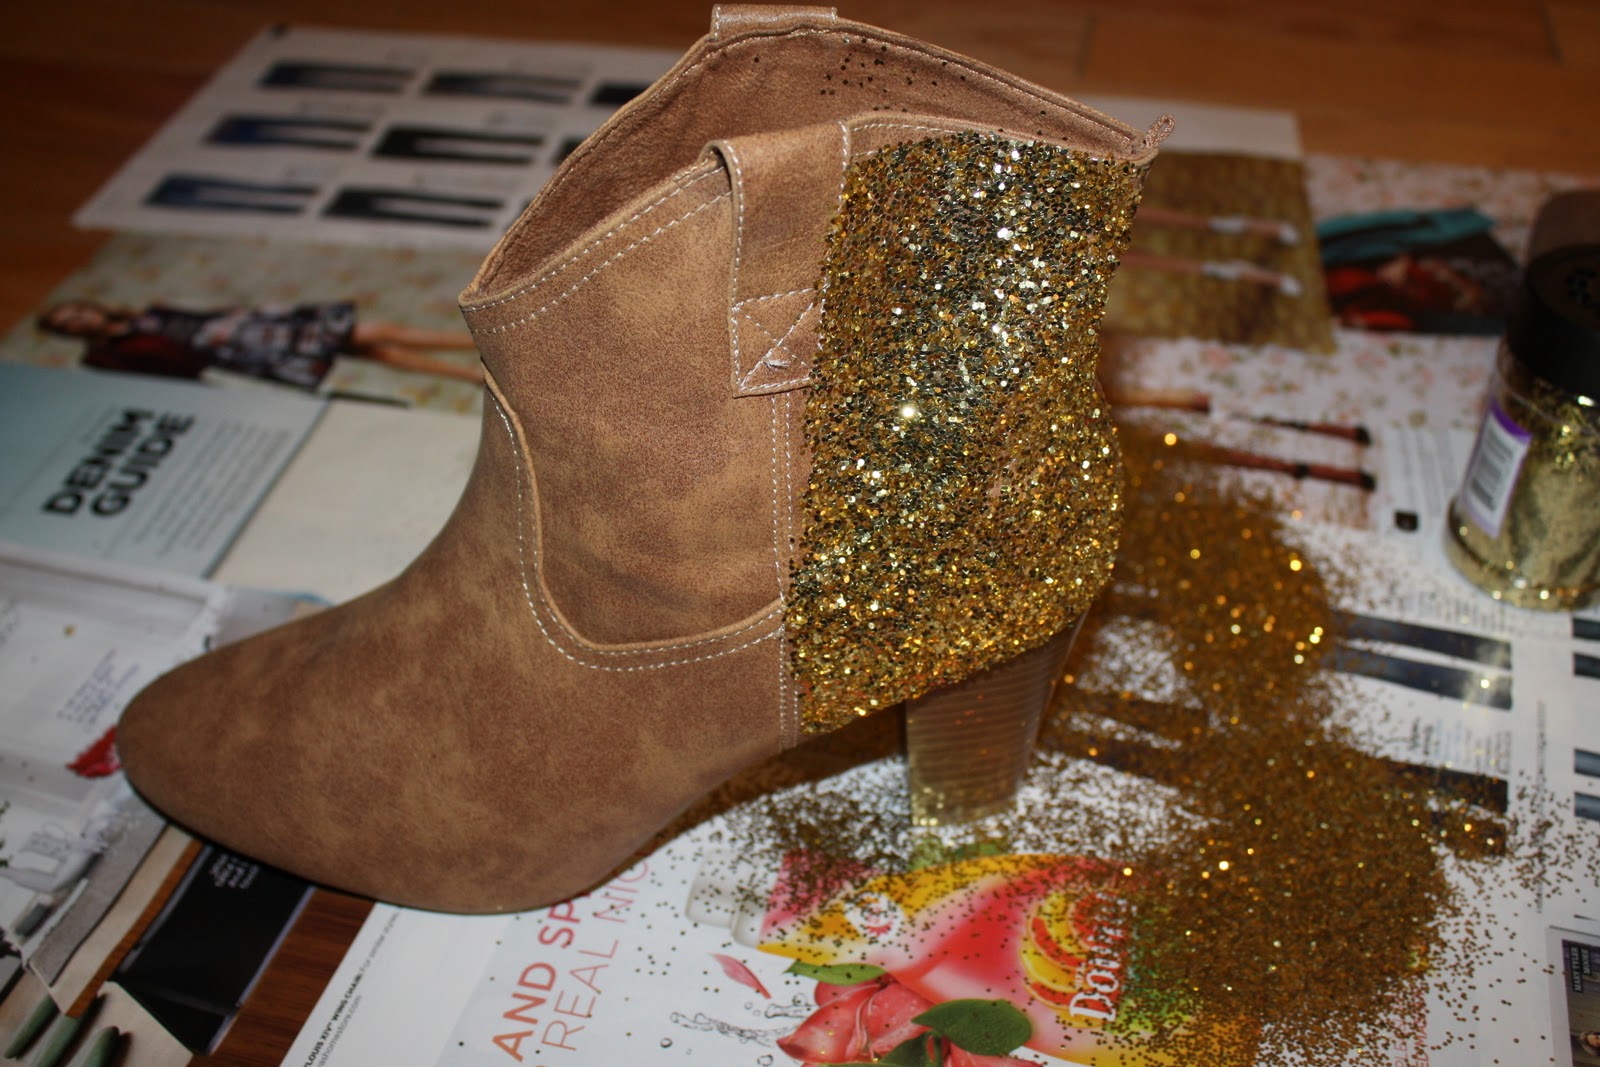
DIY: Glitter Boots

The second I saw this Glitter Boot DIY (originally here) I knew that I had to make them! I love glitter almost as much as I love cheetah. Although I must say, the title of this post should be "See SB make a Mess". The floor of my apartment is now covered in gold glitter. I am actually really enjoying the new glitter finish on our floor, but if you ask my roommate she might have a different opinion (yeah, right). Okay, on to the DIY!

Step One: Gather the Supplies
1. Boots - I used these Old Navy boots largely because I paid a whopping $13 for them, so I wasn't afraid to mess them up.
2. Glitter and lots of it! I used two sizes of glitter and mixed them together - I don't think this is necessary though because the larger glitter took over.
3. Fabric Glue - I used one that said it would work on leather since the boots I used are faux leather.
4. Paint Brush - I just used this to paint the glue on to the boot, so it would be applied more evenly.
5. Newspaper - Obviously I only had magazines so I used that instead, but newspaper is a better option. 


Step Two: Apply the Glue


Step Three: Apply the Glitter


Simple as That: You're Finished!
You can now marvel at your beautiful creation! You might want to leave them to dry for a while because I think the glitter might shed!


 These were really fun to make and I cannot wait to wear them! I think I am going to pair them with skinny jeans and a simple, cream top, so the focus is on the boots! This could also be done with silver glitter on gray boots...Old Navy has the exact boots I used in gray too! Have fun!!